

Sometimes it is advisable make a modification to a manufacturing unit engine muffler. This is what I bumped into on the DLE-85 for my 1/3-scale DVII. I wanted to alter from high to backside exhaust exit.
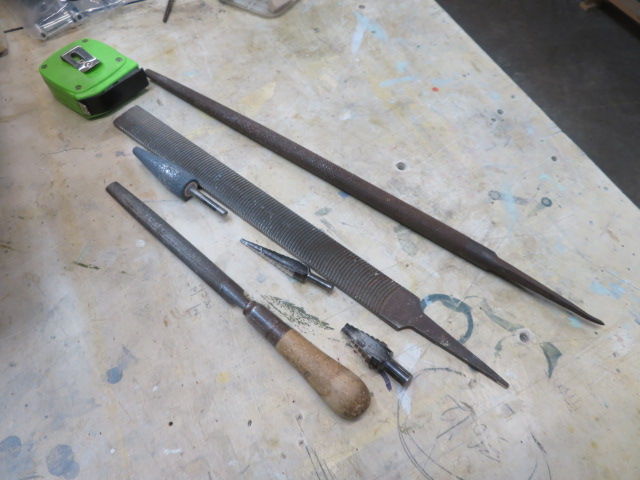
Except for the tig welding, you doubtless have all of the instruments required in your store, drill motor, step drills, information, and many others.
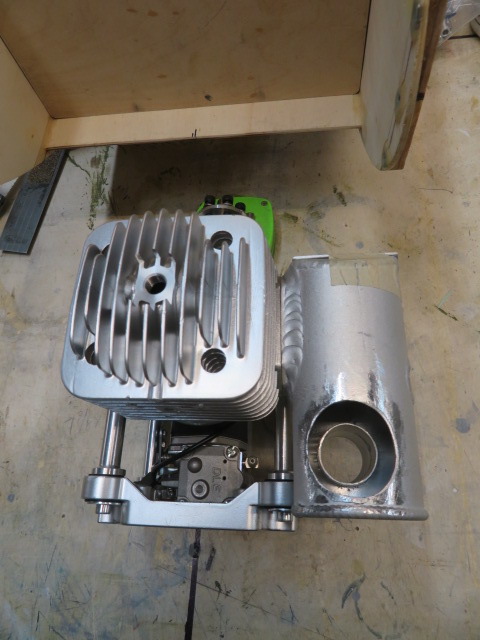
This is the fundamental downside. Nice muffler, however exhaust exit goes the flawed manner. Needs to dump the exhaust out the underside! Also had a small interference downside with the cowl on the entrance of the muffler.

To start, drill out the welds for the exhaust exit tube. You must reuse this tube, so watch out!

Looks kinda tough at this level.
Smooth out the opening with Dremel software sanding drum or rotary file in your drill motor.
Drill a pilot gap on the other aspect for the exhaust tube and open it up with a step drill. Make a detailed match to make the welding extra environment friendly.
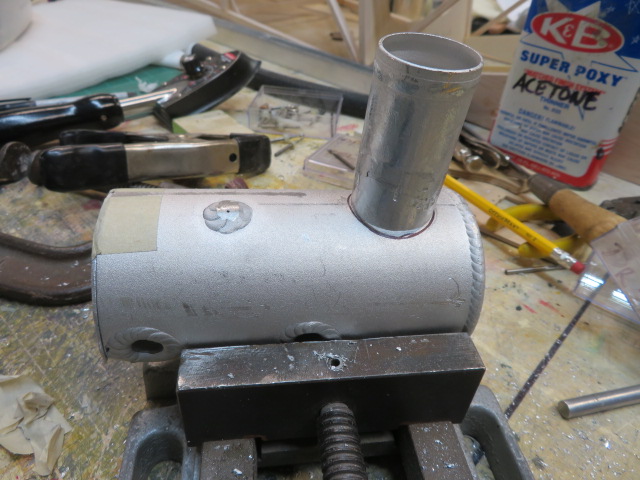
Adjust the tube as required …
… and mark it for match so you may get it welded to the best size afterward.
Next, discover some scrap aluminum to make a canopy for the highest of the muffler. I discovered and previous battery charger and lower a bit out with my gap noticed. Did a little bit of shaping to make it match the contour of the muffler.
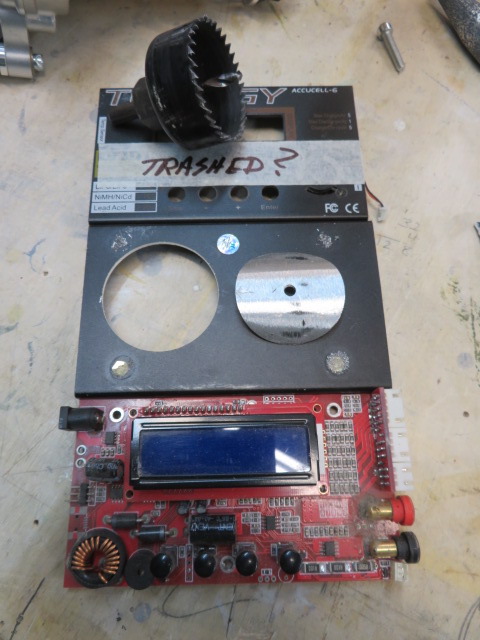
Nice match!

Now you want a technique to preserve the brand new half maintain in place for welding. An extended bolt via to the other aspect will work. You don’t wish to simply hand the welder numerous unfastened elements and anticipate him to determine it out.
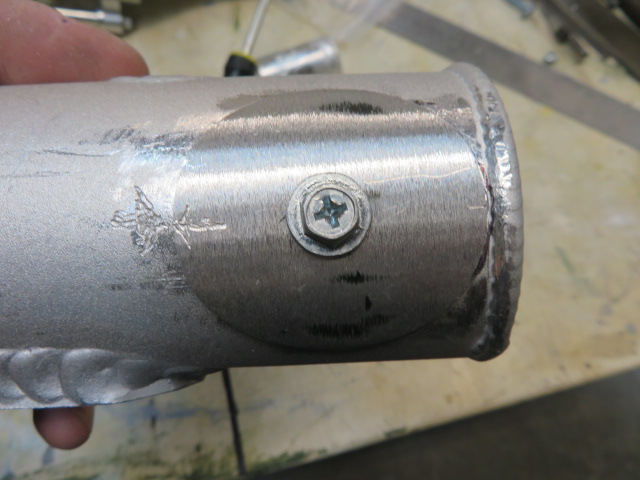
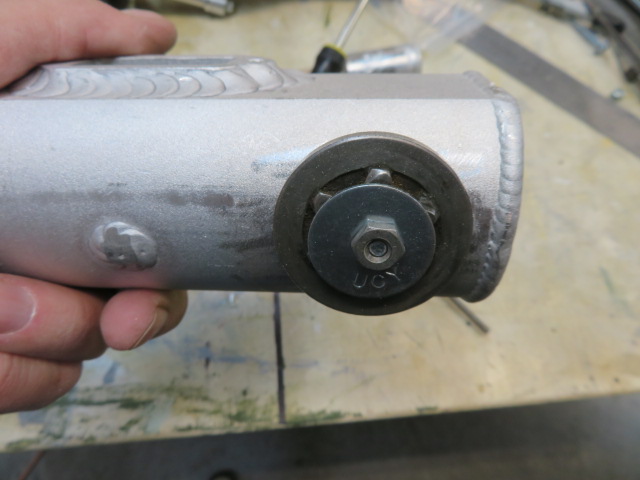
And on the other aspect, discover a big washer to anchor the bolt to. In different phrases, the highest plate should be welded or simply tack welded earlier than the exhaust tube. Once tacked, take away this jig and transfer to the exhaust tube.
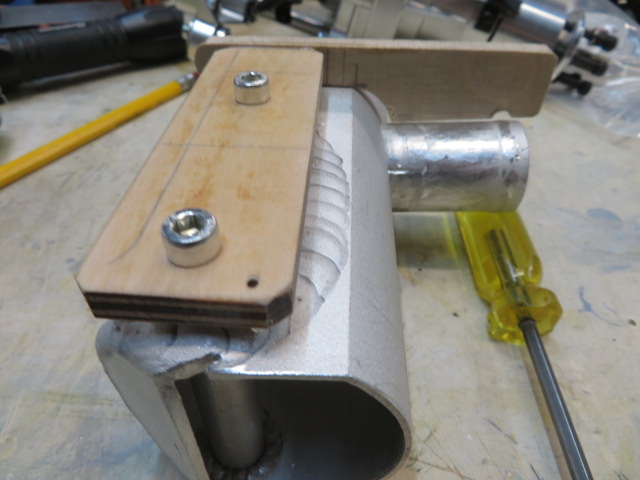
Once the highest cowl is welded, it is advisable be sure that the exhaust tube is straight. A easy plywood jig is bolted to the muffler mounting holes with a information CA’d to it for alignment. Of course, you do that AFTER the highest plate is welded or simply tack welded. You should be there to do these jigs whereas the welder is working. No offense to welders, however you might be doubtless going to be the one one who is aware of the way it all is meant to look. It gained’t take lengthy for him to tack issues collectively and you may take away the jigs and let him take his time doing the remainder of the welding.
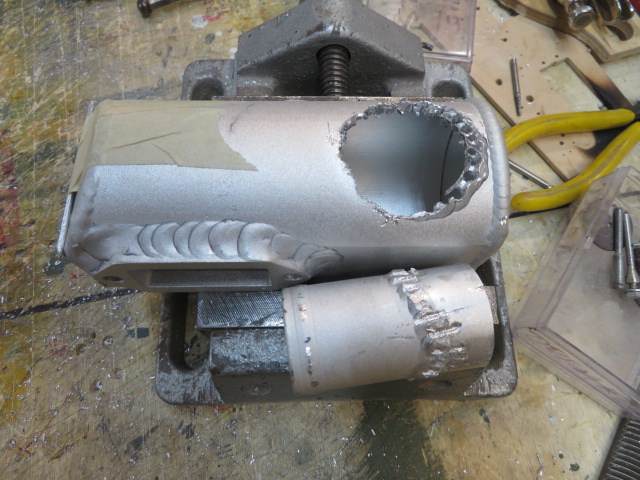
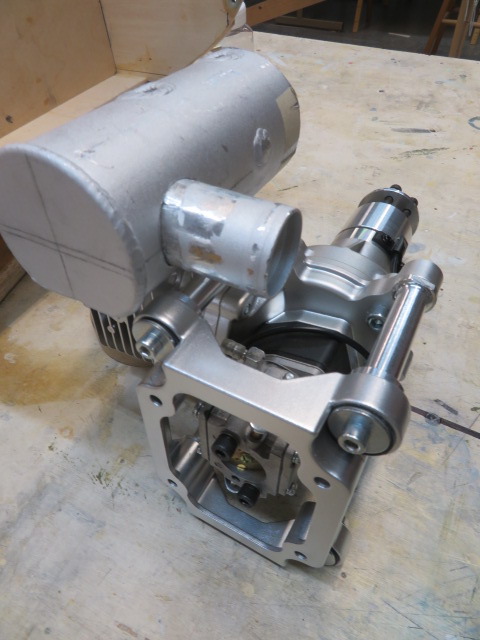
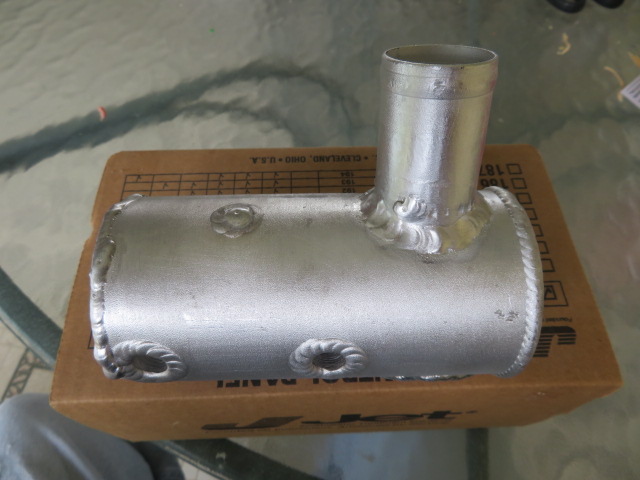
Top plate welding accomplished and wire-brushed.
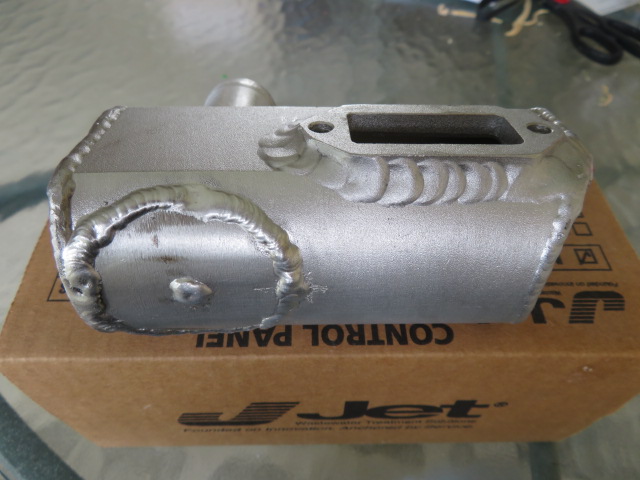
Exhaust tube welding accomplished. The weld could not look fairly as clear because the manufacturing unit welds, however these could also be accomplished by a robotic or a human welder who does this all day lengthy!
Another downside was a little bit of interference with the cowl on the entrance of the muffler. You trim off the aluminum with a hack noticed as required, make a brand new aluminum panel or panels, and weld these up too.
All this welding ran me $30 however that was WAY much less $$$ than shopping for a brand new customized muffler!
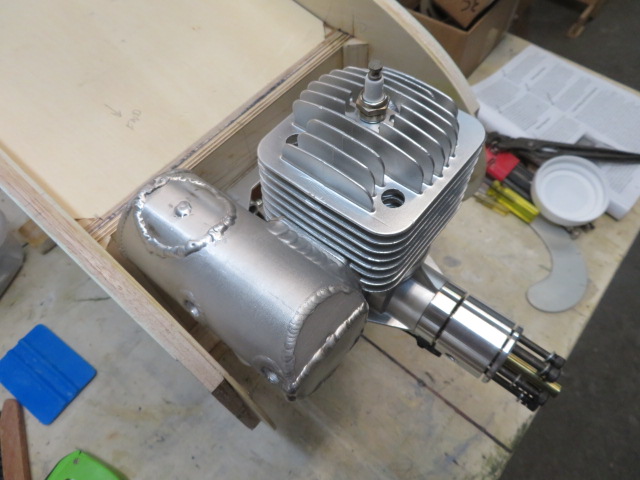
Newly modified muffler in its new dwelling. Teflon extension tube dumps exhaust out the underside of the fuselage.
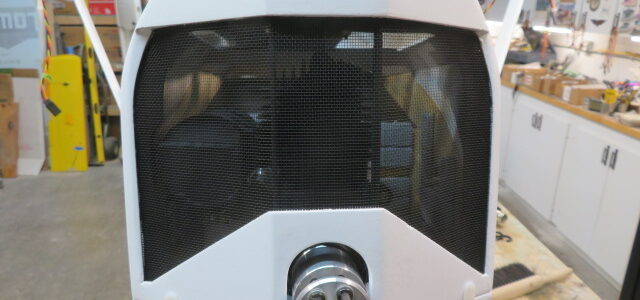
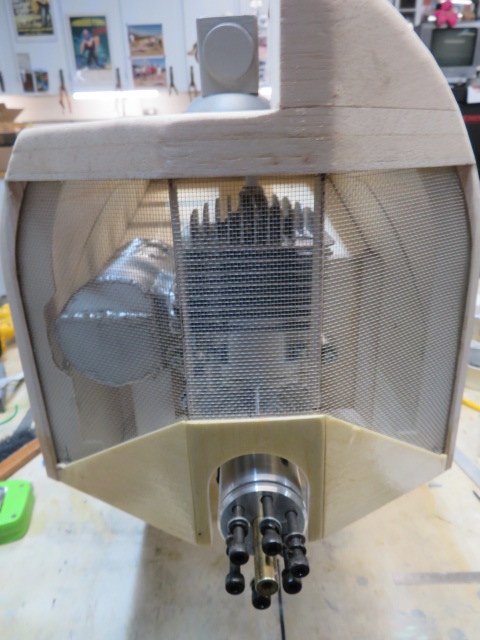
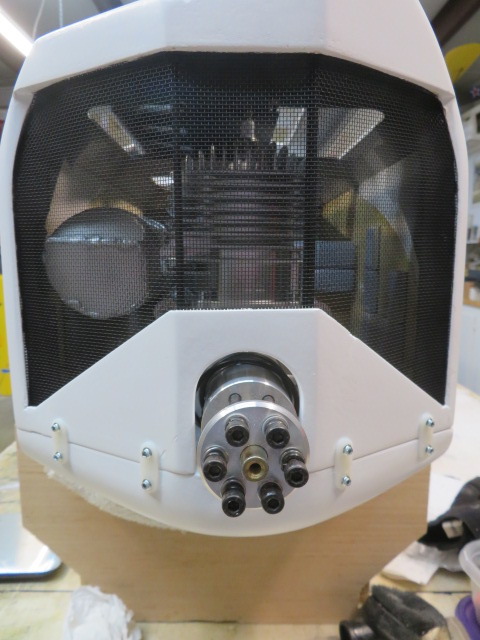
With the cowl in place, engine and muffler are simply seen.
Blacking out the engine and muffler is a plus. To me anyway. A light-weight coat of flat black helps dissipate warmth.
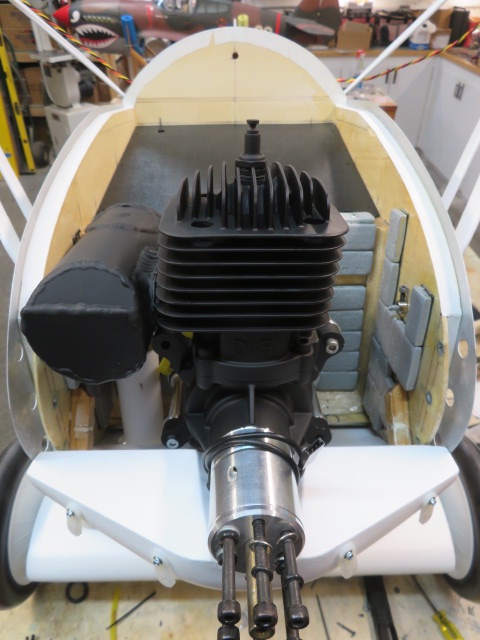
With cowl in place, appears good!
TEXT & PHOTOS BY LANE CRABTREE